Bring some festive cheer with a homemade Christmas card
We wanted to bring some festive cheer this December, so we’ve teamed up with London-based illustrator Abigail Burch to show you how to create a fun and easy homemade Christmas card.
We wanted to bring some festive cheer this December, so we’ve teamed up with London-based illustrator Abigail Burch to show you how to create a fun and easy homemade Christmas card.
Using simple craft supplies, unleash your creativity and delight a loved one with a unique greetings card this Christmas.
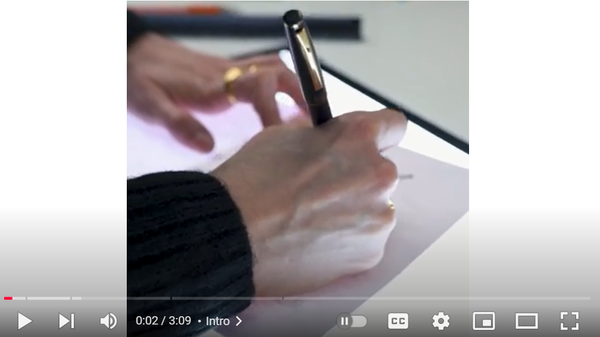
You can watch Abigail create this super cute card here. Alternatively, we’ve run through each stage below to help you create this card step-by-step.
You'll need:
- Thick heavyweight card, A4 size
- Pencil
- Black ink pen
- Rubber
- Bone folder or lolly stick
- Some pom poms (or any other decorative alternative such as coloured pieces of paper/card cut into small shapes or glitter)
- All-purpose adhesive and something to apply it with (e.g. cocktail stick)
- Ruler
- Envelope (C5 size)
Instructions:
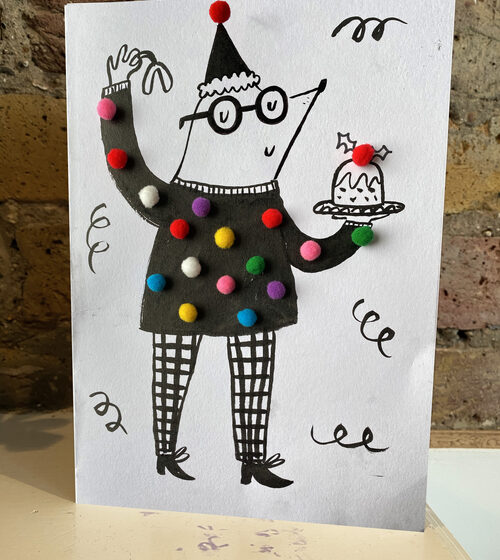
- To begin with, sketch out a character on a piece of paper. This stage can be rough – don’t worry about making mistakes because your design can be refined later. You can follow Abigail’s tutorial and do a mole character – or any other animal you like!
- Dress your character up in a fun Christmas jumper with a Christmas hat. They can be holding a Christmas pudding, a beautifully wrapped gift or any of your favourite Christmas treats!
- Once you’re happy with your sketch, prepare the card. You’ll need to make sure the piece of card is strong enough to stand up on its own. To prepare the card for folding, measure it halfway on both of the paper’s long edges, making a light dot with a pencil (these can be rubbed out afterwards).
- Then, lay your ruler down the fold line, as marked out by your dots. Using your bone folder or lolly stick, take the sharp end and run it along the ruler to create a crease in the centre of the card so that you can fold it neatly in half. Keeping the ruler in place, pull the paper up slowly and with the edge of the lolly stick/bone folder, press against the ruler edge to create the fold.
- Now the card is folded, it’s time to trace your design onto the card. Ensure there is a source of light behind the sketch and piece of card using either a lightbox or holding it against a window. Using your black pen, trace the outline then fill in the solid colour and detail with a brush pen, felt tip or marker pen.
- Leave the ink to dry for 10 minutes, then you can start adding your pompoms. Before you stick them down with glue, place your pompoms on the card to map out where you want each colour to go. When you’re happy with the placement, squeeze out some glue onto a palette. Using your cocktail stick, apply a dot of glue onto the card in the desired place, then gently press your pompom onto it. Repeat for all the pompoms until they are attached.
- Leave your glue to dry, then finish your card design off with some confetti strands. This is a celebration after all!
- Write your card then gently slide it into the envelope. Done!