Core - Series 1
Pink Lady® Core, a series of bite-sized Pilates tips from our expert Jane Linden designed to help strengthen those all-important core muscles.
- Mermaid side bend
- Knee pull
- Roll down
- Shoulder bridge
Mermaid Side Bend
Click to watch the video
The Mermaid Side Bend is an exercise that helps to increase pelvic stability and increases hip and oblique strength.
To master this move, just follow the steps below.
Lie in a straight line on your side, knees, hips and shoulders lined up on top of each other, balancing on your bottom hip.
Place your head on your bottom arm, with the palm of that hand on the floor.
Lengthen your spine - lifting your waist away from the floor by pulling your abs in. Check that your neck is neutral, you may need a towel between your ear and your arm.
Place the hand of your top arm on the floor in front of your chest for balance. Keep your top shoulder rolled back towards your spine and do not lean onto your hand. Keep your chest open and facing forwards.
Bend your bottom leg if you need more stability.
Lengthen your top leg away from you as though you are trying to make it longer.

Lift your top leg to hip height and simultaneously lift your upper body up to the side by gently pressing into your bottom hand and lifting your head away from your bottom arm.
Aim to create a small gap underneath your armpit so the bottom side of the rib cage begins to lift away from the floor.

Return your leg and upper body to the start position, keeping your abdominals contracted at all times.
To increase the challenge of the exercise keep your bottom leg straight and place your top arm on the side of your body. This will demand more work of the abdominals to keep you stable as you have less floor contact.

Things to look out for...
As you move the leg there should be no pressure in your top hand.
Pull your abs in to stop yourself rolling.
Keep your pelvis and chest square to the wall in front of you at all times.
Knee Pull
Click to watch the video
The Knee Pull is an exercise that increases core strength and stability.
To master this move, just follow the steps below.
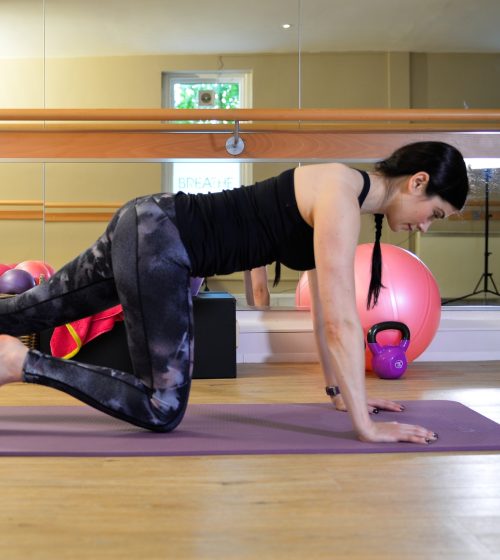
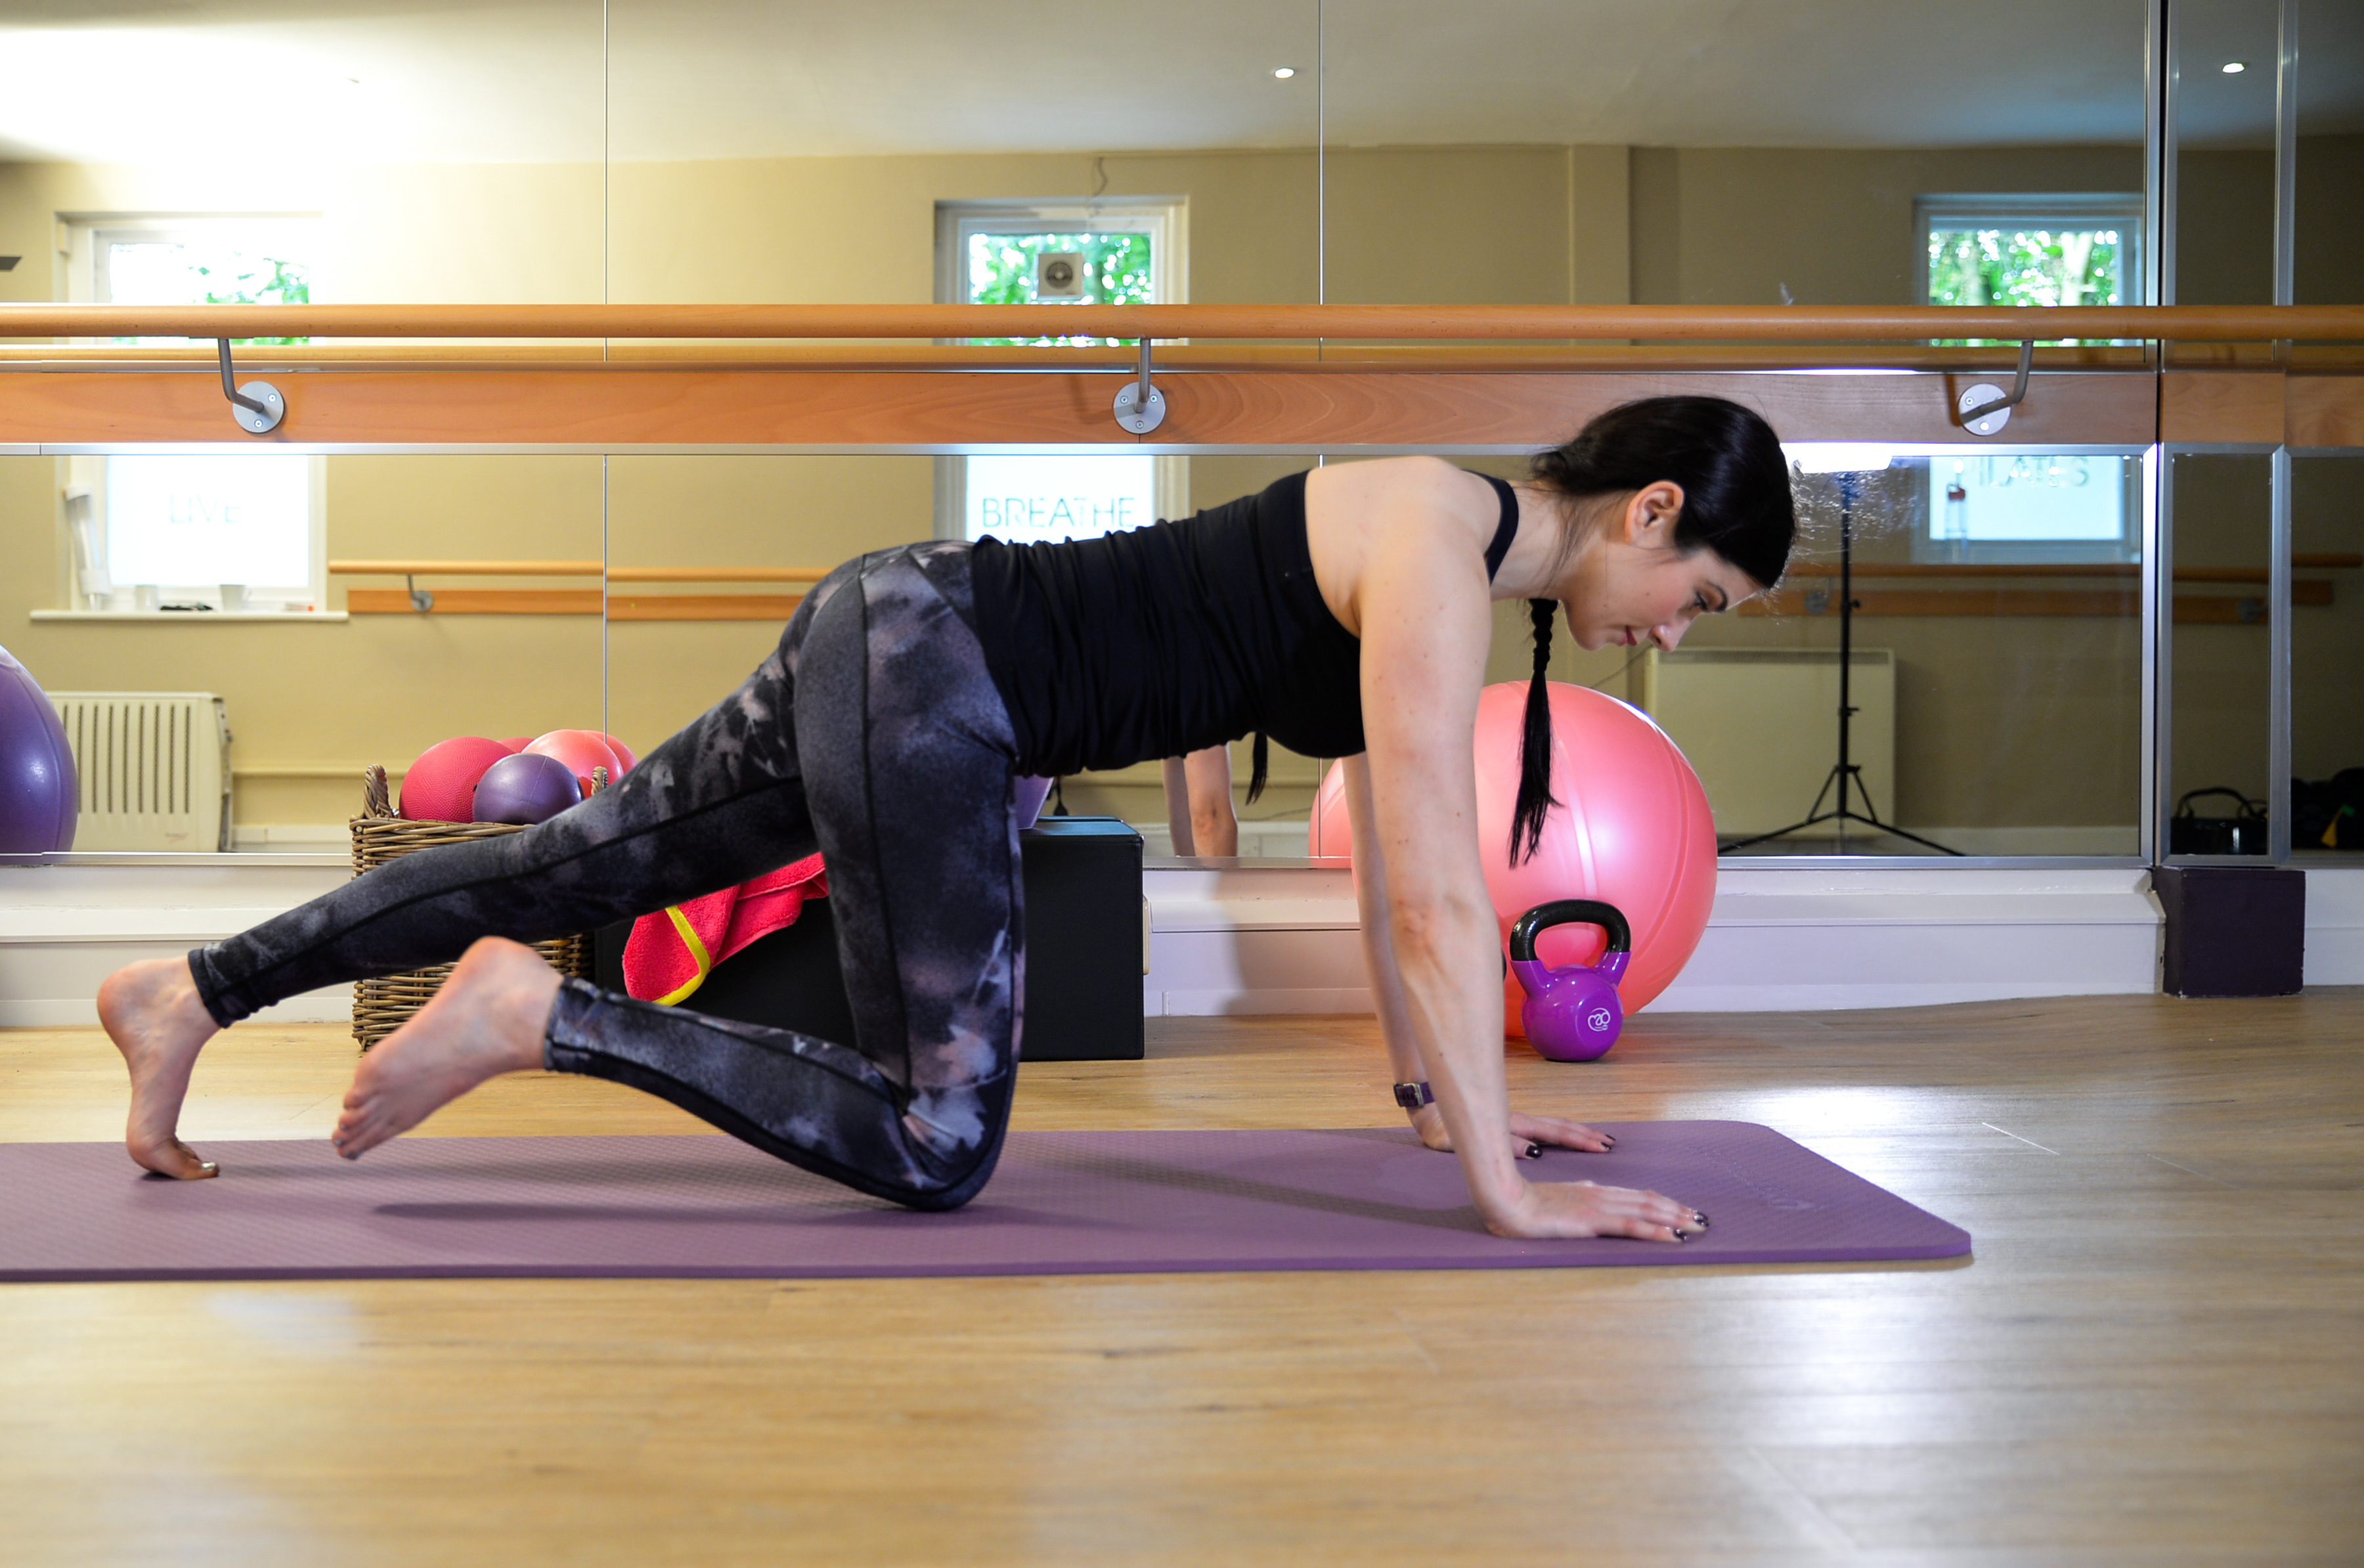
Knee Pull
Kneel in an all-fours box position.
Your wrists should be directly under your shoulders and your knees should be directly under your hips.
Make sure your spine is in neutral (straight spine) and your abdominals are contracted.
Keep your shoulder blades sliding down towards your hips, and the back of your neck long so that you are looking at the floor.
Imagine that you are balancing a tray of drinks on your lower back.
Tuck all ten toes under and shift your weight forwards into your arms so that your shoulders are slightly forwards of your wrists.
Hover your knees about an inch off the floor to lift yourself up onto your hands and toes, and hold for about 5 seconds, or a couple of breaths.

Focus on maintaining a straight spine by contracting your abdominals.
Place your knees down and shift your weight back towards your heels to reduce the pressure on your wrists.
When you are ready to increase the challenge lift one foot off the floor without changing your posture.

This can be progressed later by reaching the lifted foot back to the wall behind you so that your leg is straight.

Things to look out for...
You may need to stop and give your wrists a roll to ease the pressure every now and then.
Roll Down
Click to watch the video
The Roll Down is an exercise that helps to strengthen the abdominal muscles and mobilise the spine.
For beginners, using a band can be a helpful way to build up to this exercise, as the resistance of the band can assist you in the rolling up phase.
To master this move, just follow the steps below.
Roll Down
Start by sitting tall on your sit bones, with your knees bent and feet flat on the floor. Lengthen your spine and engage your abdominals.
Hold onto the back of your thighs for support

Use your abdominals to tilt your pelvis back to round your lower spine, and draw your stomach away from your thighs to push your back out to the wall behind you and create a rounded C shape of the spine.

Keep the rounded shape of your spine as you roll down one vertebra at a time until you reach the back of your waist. When you are ready for a greater challenge roll down to the base of your shoulder blades.
Keep your chest open and your chin off your chest throughout.

Roll all the way back up on top of your sit bones, maintaining the rounded shape of your spine. Once your shoulders are in line with your hips, lengthen up through your spine again.
Things to look out for...
Make sure your chest remains wide, and you keep pulling your abdominals in to protect your lower back.
Shoulder Bridge
Click here to watch the video
The Shoulder Bridge is an exercise that improves spinal mobility via segmental control (moving spine one vertebra at a time).
This exercise is a great one to start with because it offers a few important benefits:
- increases the strength of the glutes and hamstrings (buttocks and back of your thigh)
- helps to improve hip flexibility
- helps to improve pelvic stability
So to get started follow the simple steps below and watch Jane’s video to see how it’s done.
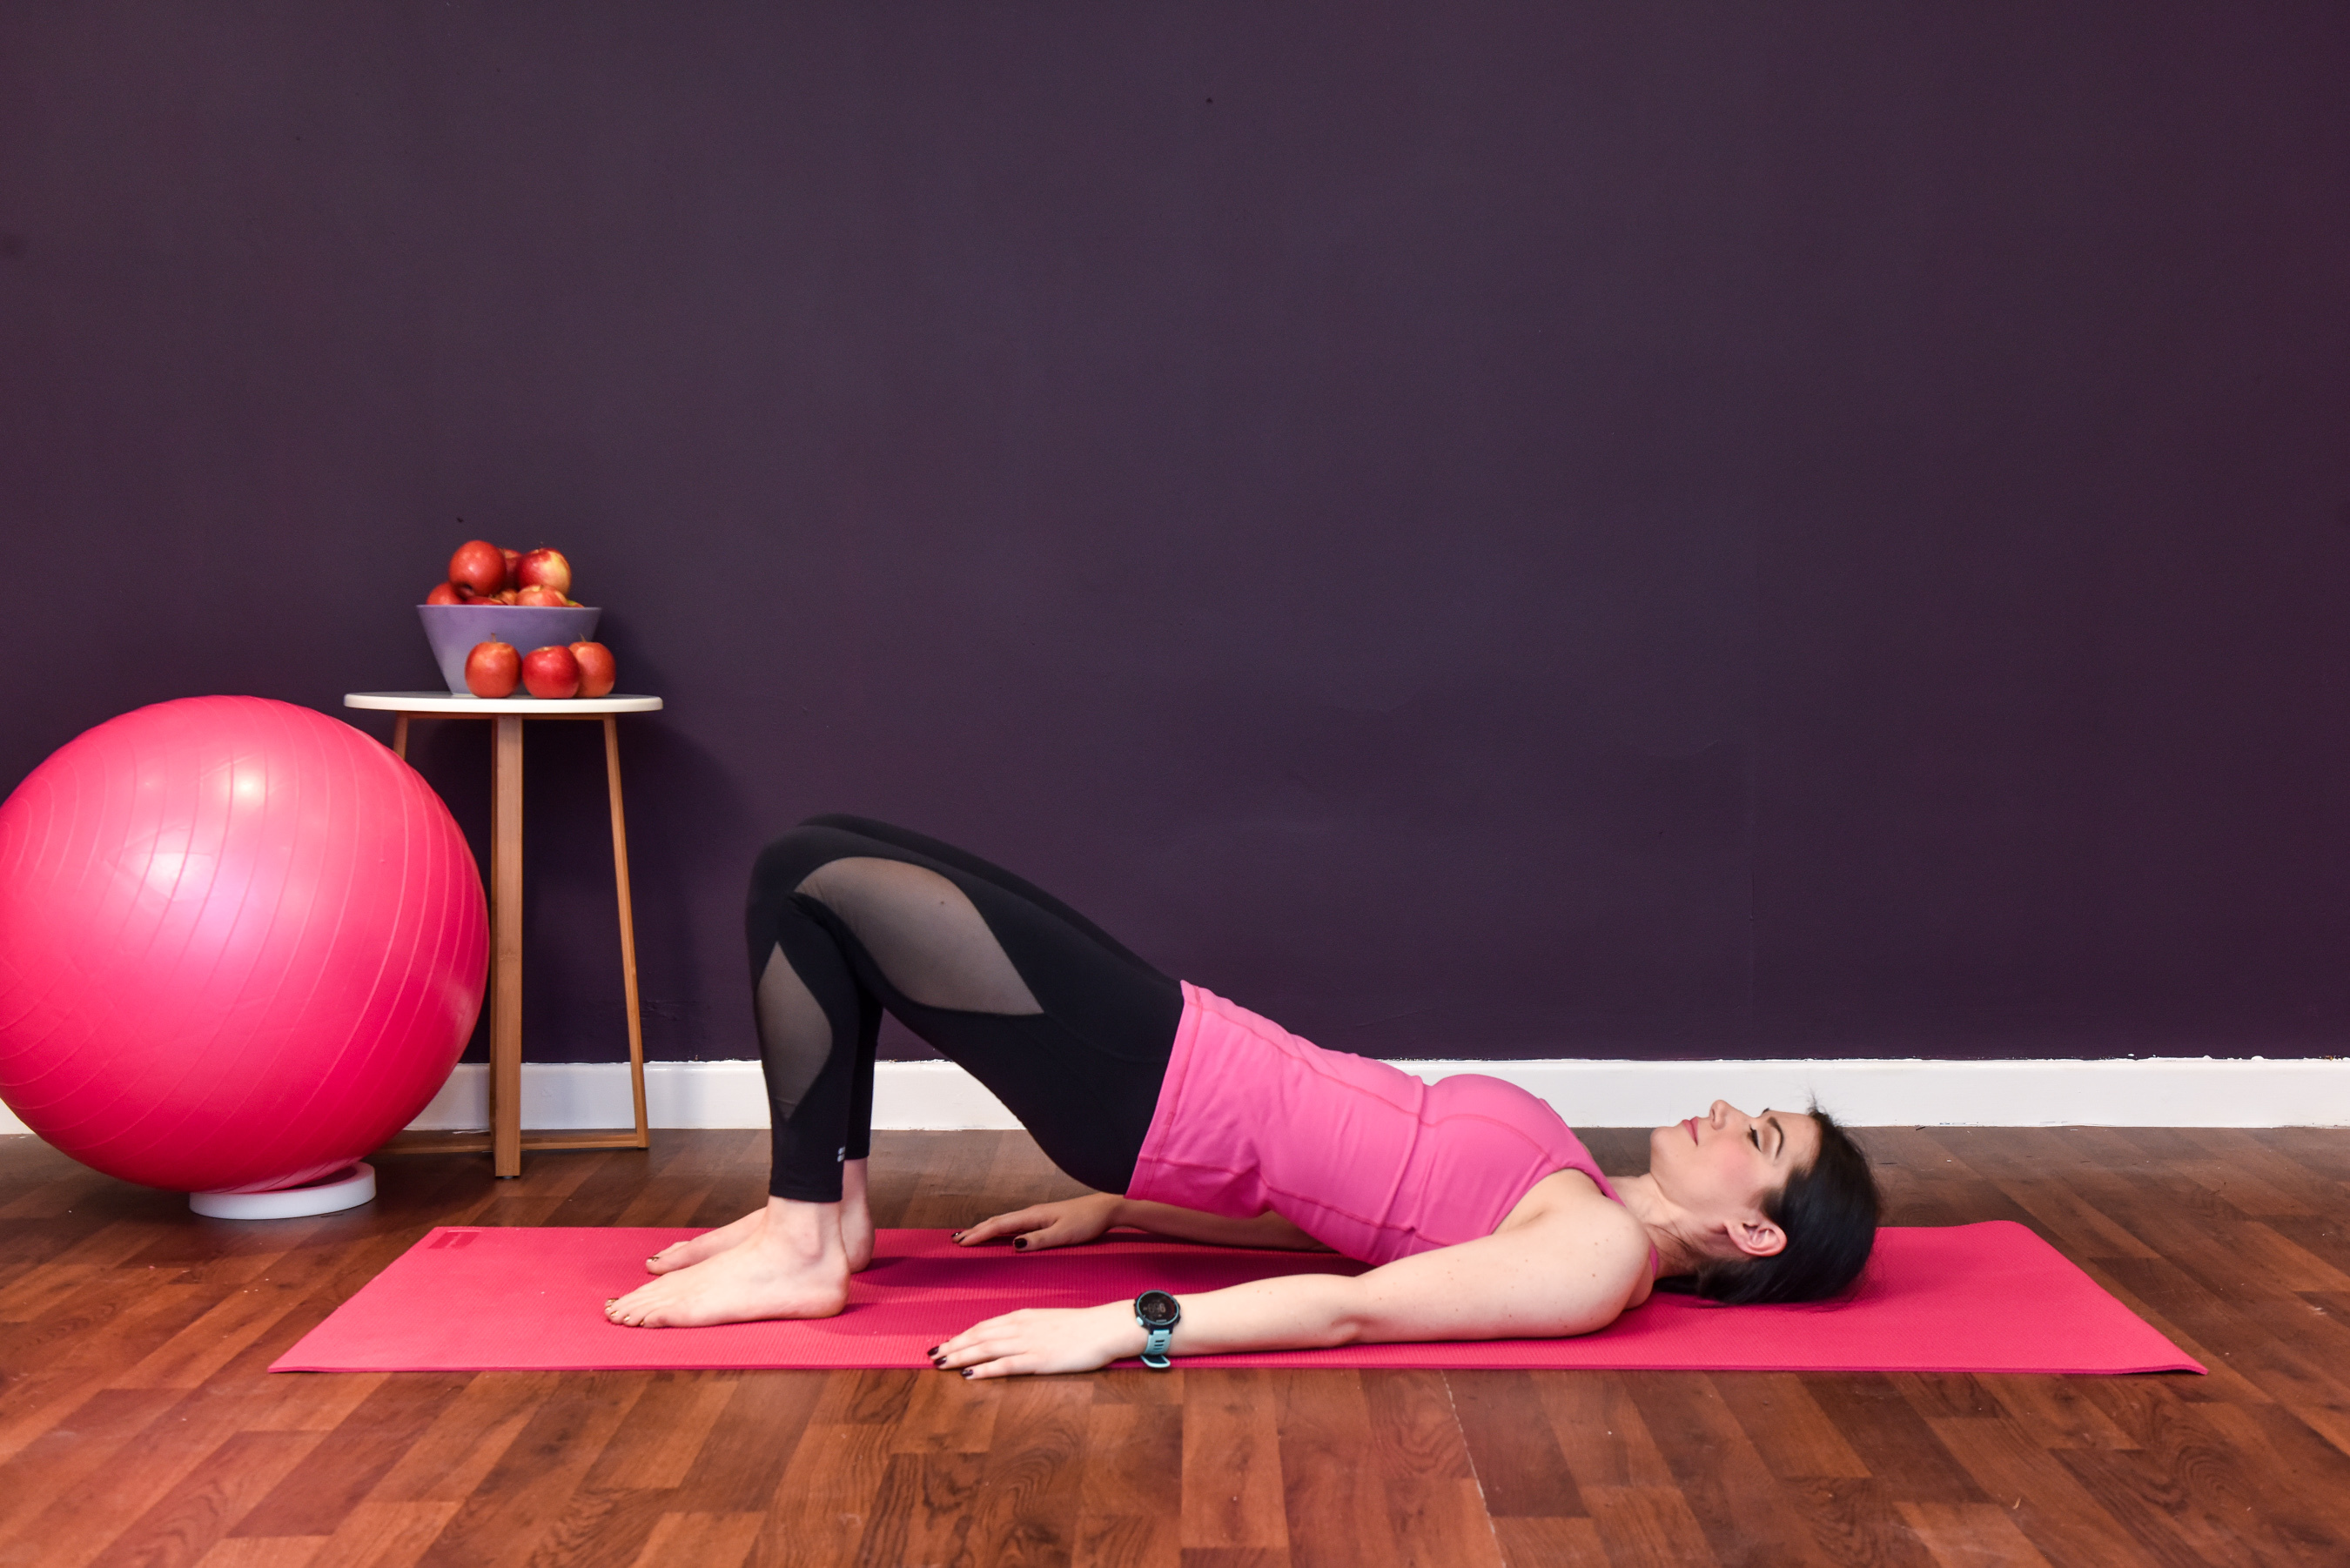
Shoulder Bridge
Start in neutral spine (straight spine).
Placing a yoga block or pillow between your knees may help stabilize the legs and hips.
Tilt your pelvis out of neutral by contracting your lower abdominal muscles and tilting your pelvis towards your chest.

Lift your pelvis off the mat and focus on using your abdominals to peel each vertebra away from the mat until you are lifted onto your shoulders.

When you get to the top of your bridge lift make sure you have a straight diagonal line from your shoulders to your knee caps (with no dip at the hip joints).
To reverse the movement begin to roll down through your spine one vertebrae at a time making sure each vertebrae makes contact with your mat, until you return to neutral again (ensure the back of the chest finds the mat first, then the back of the rib-cage, then the back of the waist, and finally your pelvis finds the mat last).
When you are ready to increase the challenge, at the top of your shoulder bridge, lift one knee over your hip without dropping your pelvis. Hold for up to 5 seconds and change sides before rolling down again.

Things to look out for...
Keep your hips lifted for as long as possible on the way down so that you can curve the lower back into the mat.
Make sure that your waist band contacts the floor before your bottom.