
Core-Series 4
The Plank
Want to perfect your plank? Pilates expert Jane Linden, the creator of Pink Lady® Core, has created this series of exercises designed to help you find your inner strength and plank like a pro.
The plank is a great exercise to condition your whole body. It helps to strengthen your arms, shoulders, glutes and torso muscles, which makes it a very functional exercise that prepares the body for all sports and many day to day activities such as lifting heavy weights, whether that’s toddlers or furniture!
This is a very simple exercise that you can do with no need for equipment and in very minimal space. However, simple doesn’t mean easy - the plank requires a person to be able to hold themselves with their abdominals, it requires good strength in the upper body through good shoulder stability and lastly it requires good coordination between the upper body and lower body.
Pilates expert Jane Linden says the following series of exercises to be an effective way to assess if someone is ready to plank. They also help you to understand and strengthen all the individual aspects that make the plank an effective exercise.
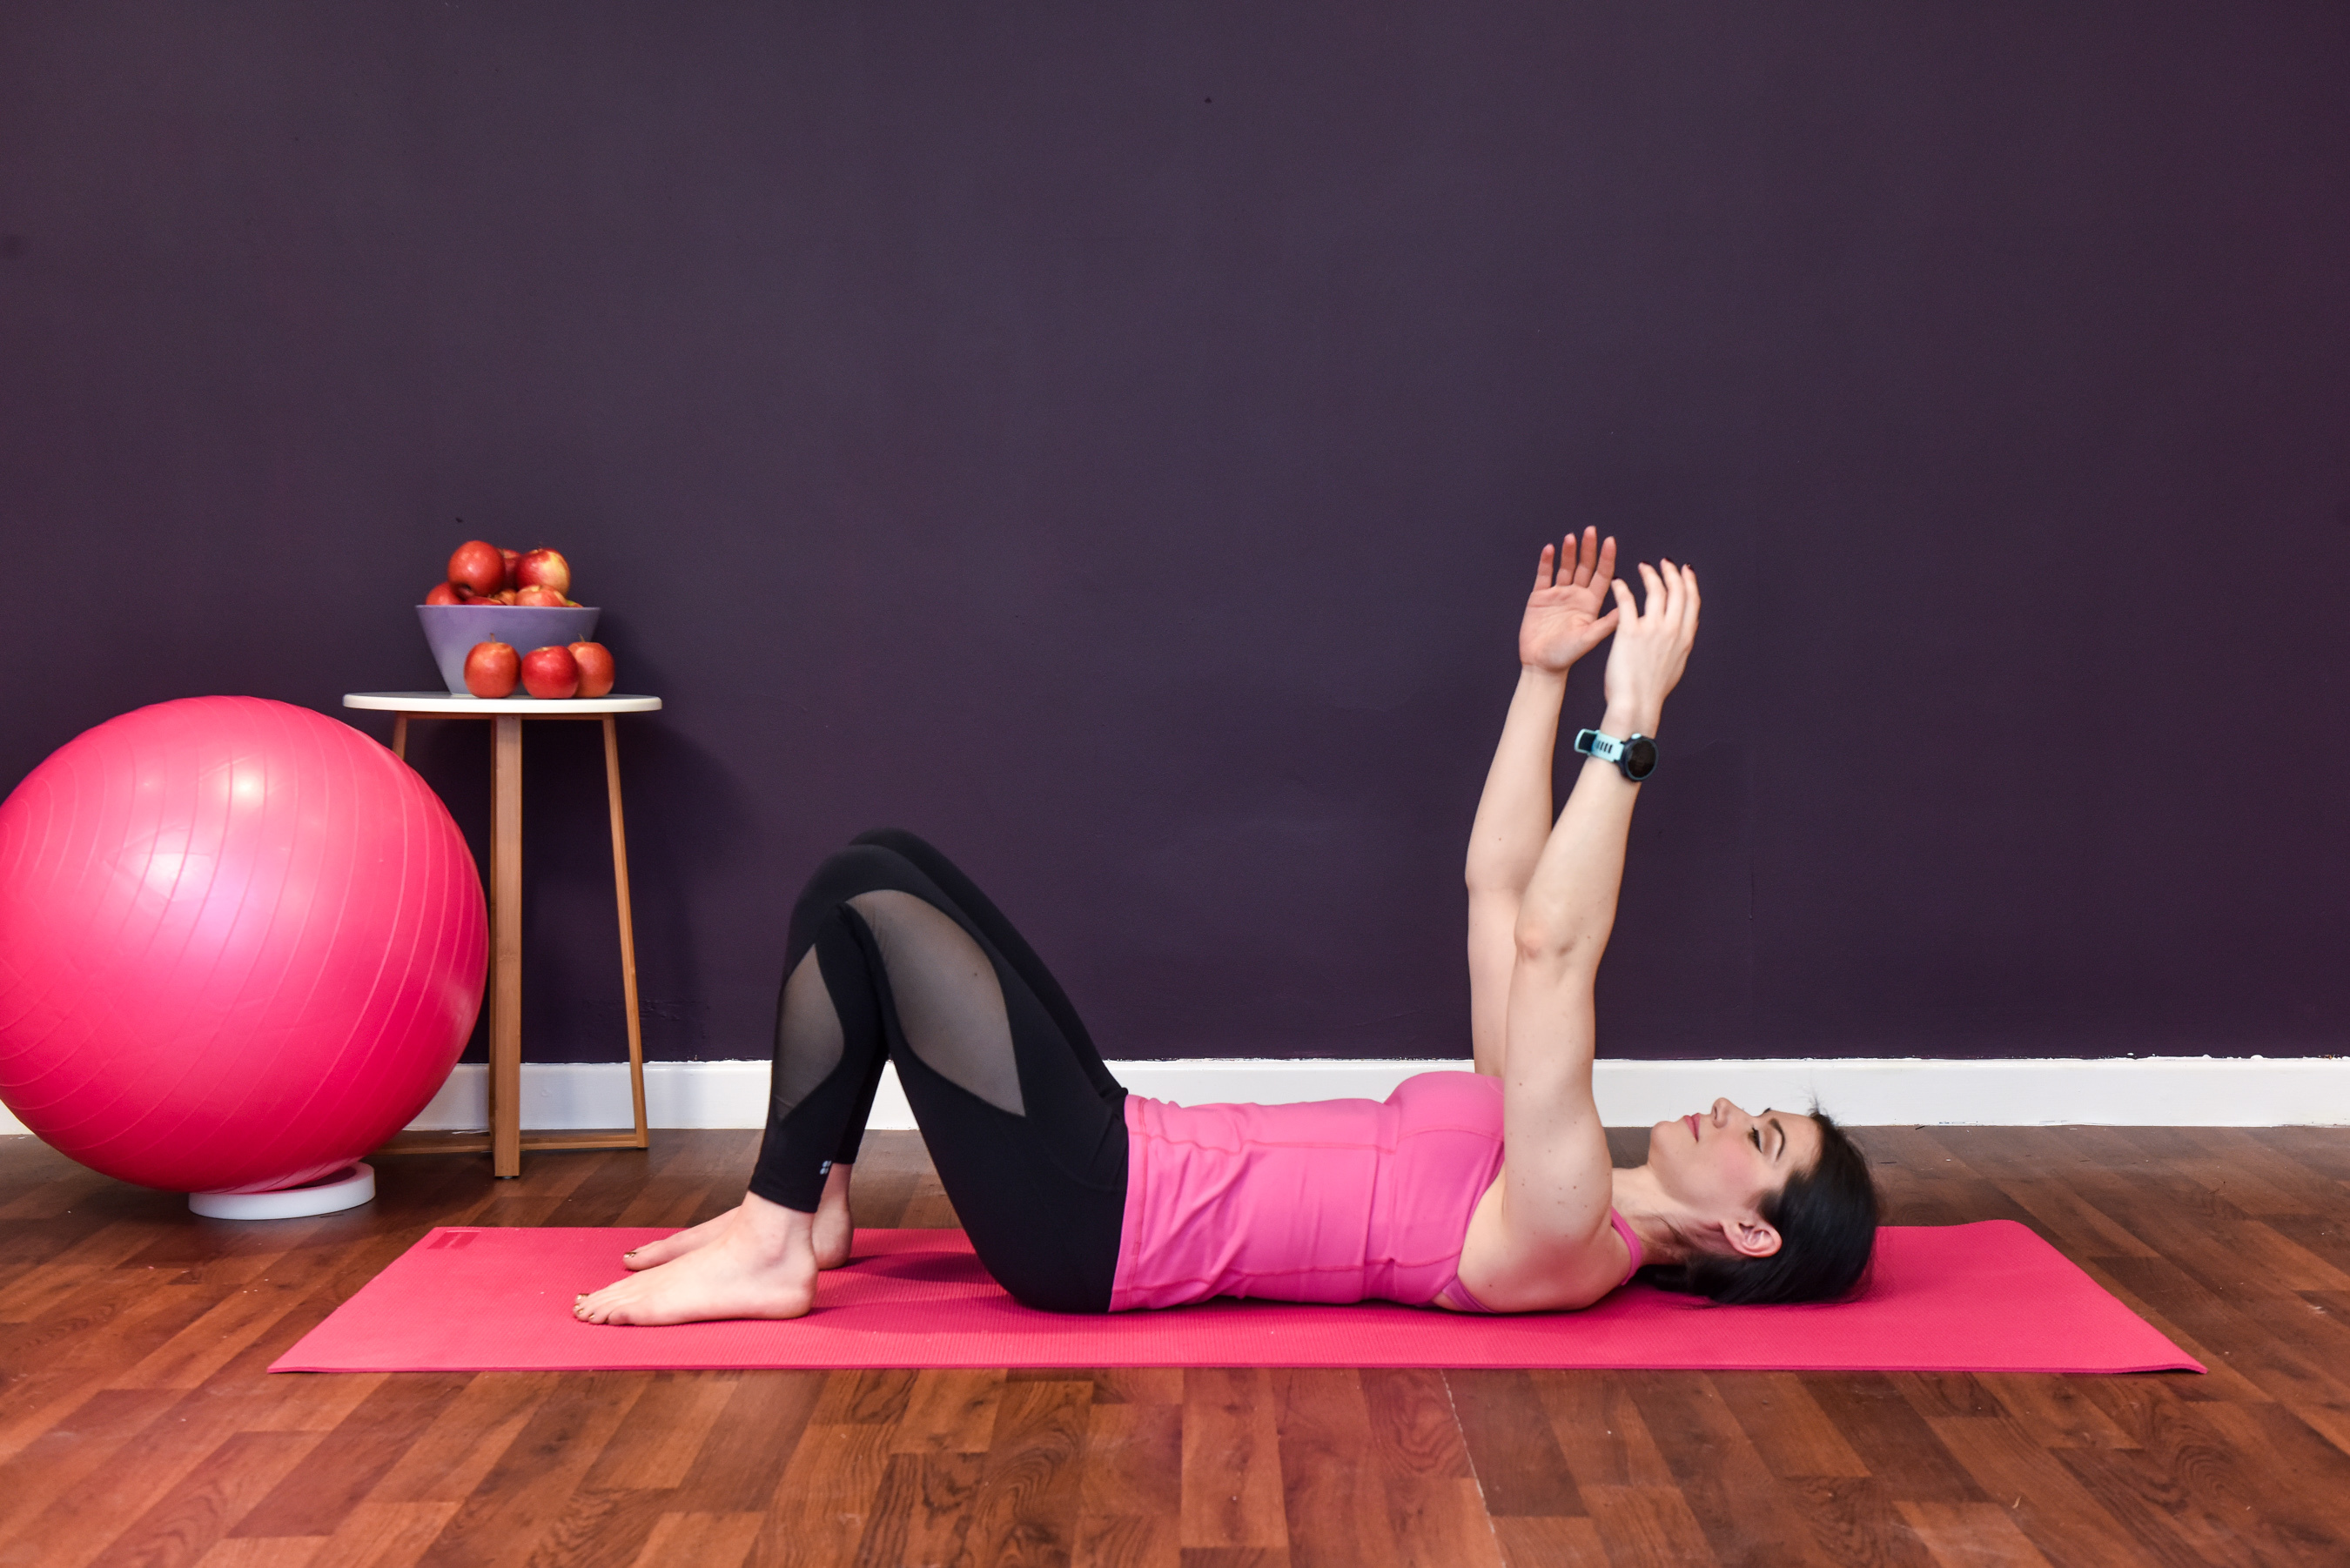
Shoulder Drop
The shoulder drop targets the serratus anterior – this muscle brings the shoulder blades forwards on the ribcage (protraction) and enables good shoulder and arm function, allowing the arm to articulate freely in the shoulder socket.
Protracting the shoulder blades whilst maintaining good alignment of the ribcage and head will allow for a longer reach and allows the optimal range of the muscle to be used. When planking, this action is really important because it helps to take a whole lot of load out of the upper body, reducing the pressure on the ribs, shoulders, elbows and wrists.
- Lie on the floor with your knees bent and feet flat on the floor. Try to keep your spine in a neutral position with a small gap underneath your lower back and your ribs heavy on the floor as you raise your arms to point towards the ceiling
- Keep your arms straight
- Protract your shoulder blades to lift your hands towards the ceiling and then drop your shoulders back towards the floor, retracting your shoulder blades to return to the start
- Repeat this small movement letting your arms move freely in the shoulder socket
- Try to keep your ribs, spine, head and neck still and stable
The shoulder drop targets the serratus anterior – this muscle brings the shoulder blades forwards on the ribcage (protraction) and enables good shoulder and arm function, allowing the arm to articulate freely in the shoulder socket.

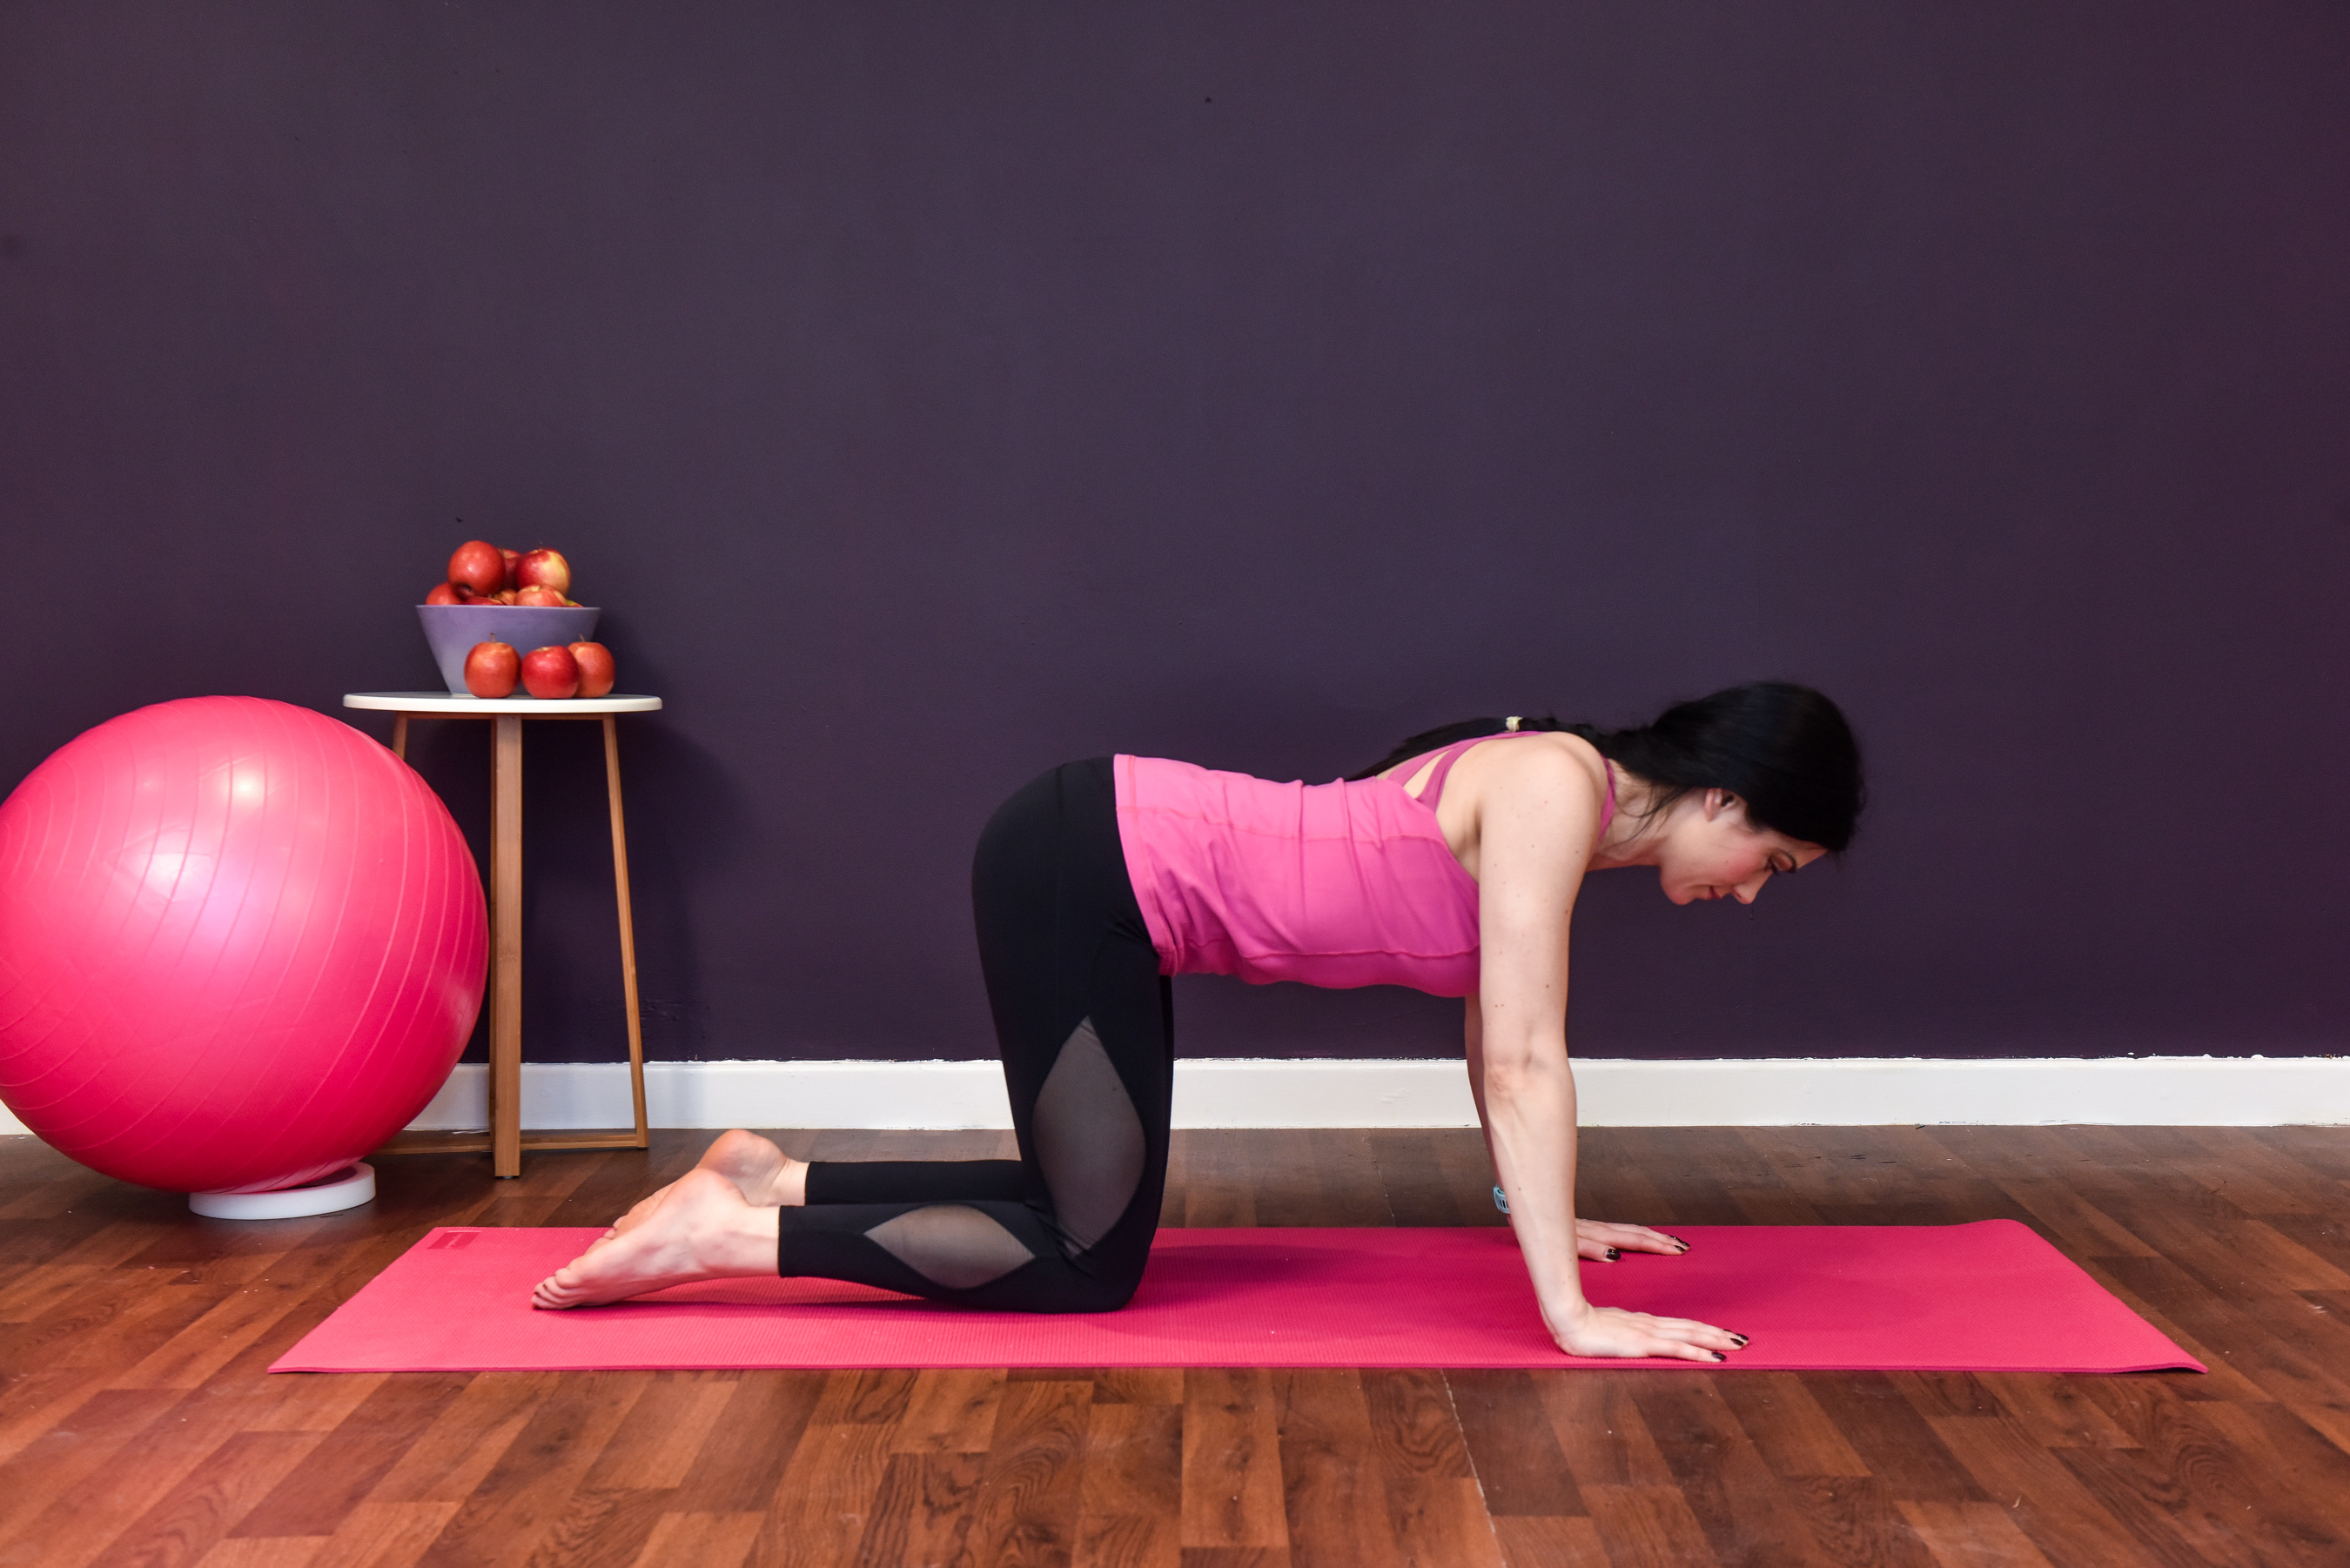
Sternum Drops
This exercise works the serratus anterior, a strong shoulder stabilising muscle, which can take a lot of load off assisting muscles in the upper body during weight bearing exercises such as the plank or during arm movements such as throwing a ball.
- Kneeling on all fours with your spine in neutral and arms straight, allow your breast bone to drop towards the floor slightly and your shoulder blades to draw closer together (retraction)
- Keep your elbows straight and don’t dip or arch your spine
- Use the strength of your two straight arms to protract your shoulder blades and push back up
- Repeat a few times
- As you get stronger you can increase the load by moving your knees further away from your hands. Eventually repeat the movement in a full plank position
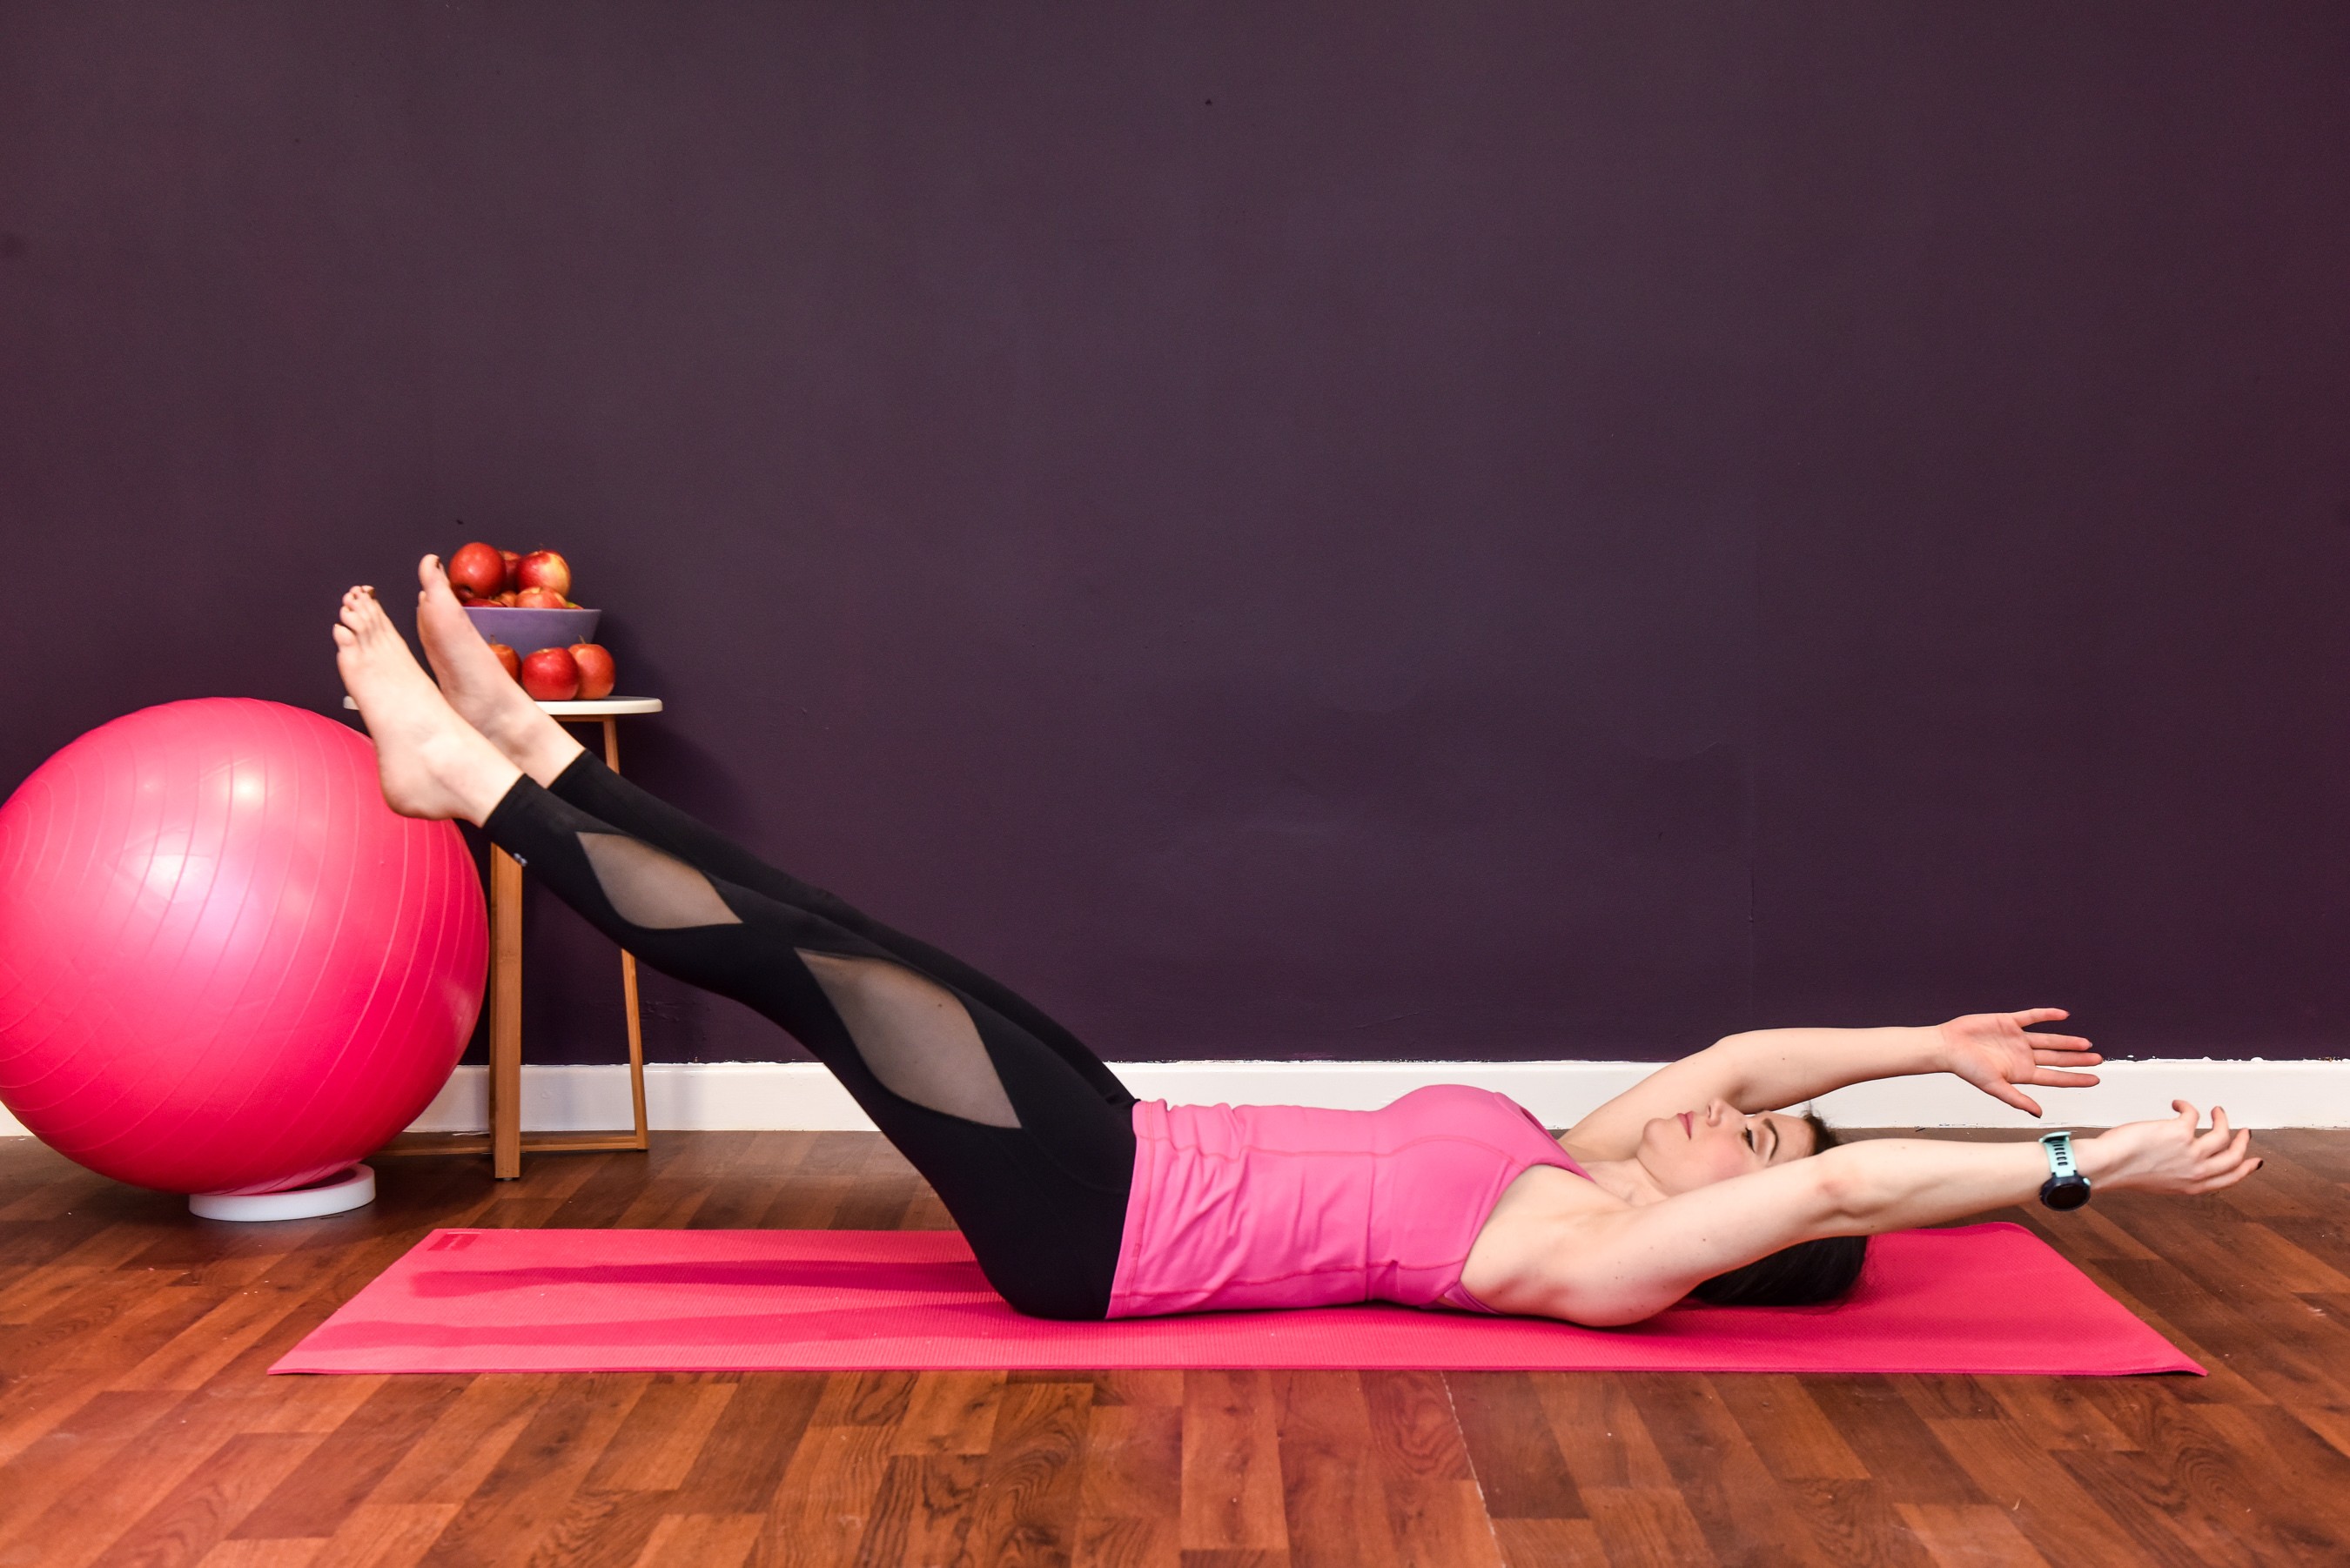
Double Leg Stretch
Double leg stretch (head on the floor) – this exercise uses the arms and legs to load the muscles of the torso. The goal is to reach your arms and legs away from one another without moving the spine. The further you reach and the lower you go the more load you place through your torso, so the more challenging it is for the abdominals to hold the spine. You are essentially using your arms and legs as dumbbells.
The challenge of load when you are planking is the downward force of gravity exerted on the spine. Although the challenge of load is different for these two exercises, the goal is the same, to teach the abdominals to hold the spine against the challenge of load. If this exercise is performed well, it is a great indication that you’re ready to plank.
- Lie on the floor with your spine in a neutral position and your neck and shoulders relaxed
- Keep the pelvis in neutral so that your sacrum (flat bone between your two glutes) is flat on the mat and there is a small space between your lower back and the mat. Lift your legs to table top, knees in a right-angle, and raise your arms to a vertical position
- Carefully lower your feet towards the floor keeping your knees at the same angle. At the same time move your arms over your head
- This is a huge challenge for your abdominal muscles. Only go as far as you can without letting your back lift away from the floor.
- As you get stronger you can increase the load by straightening your legs and lowering them further towards the floor
Single Leg Bridge
To perform a successful single leg bridge the body is required to work as a whole unit rather than in individual units. The abdominals must work to stabilise the trunk as the hip extensors on the standing side also work to support and stabilise the pelvis and the spine, so that when one leg is lifted the spine is not vulnerable to the weight of that leg.
If a person can maintain good coordination between the upper body and the lower body when one leg lifts then this is a great indication that they are ready to plank.
Just like the bridge, a plank requires you to use your body as a whole so that your muscles support your skeleton and the spine and joints involved are not vulnerable to the forces exerted by gravity. This takes strength in the shoulder girdle, the ability to hold with the abdominals, and coordination between the upper body and lower body. A successful plank will build strength in all the major core muscles making it an excellent functional exercise.
- Start in neutral spine (straight spine)
- Tilt your pelvis out of neutral by contracting your lower abdominal muscles and rocking your pelvis towards your chest
- Lift your pelvis off the mat and focus on using your abdominals to peel each vertebra away from the mat until you are lifted onto your shoulders
- When you get to the top of your bridge lift make sure you have a straight diagonal line from your shoulders to your knee caps (with no dip at the hip joints)
- Lift one knee over your hip without dropping your pelvis. Hold for up to 5 seconds before lowering your leg and repeating on the other side
- To reverse the movement begin to roll down through your spine one vertebra at a time making sure each vertebra makes contact with your mat, until you return to neutral again (ensure the back of the chest finds the mat first, then the back of the rib-cage, then the back of the waist, and finally your pelvis finds the mat last)